


Climbing Vesper Peak in the Cascades
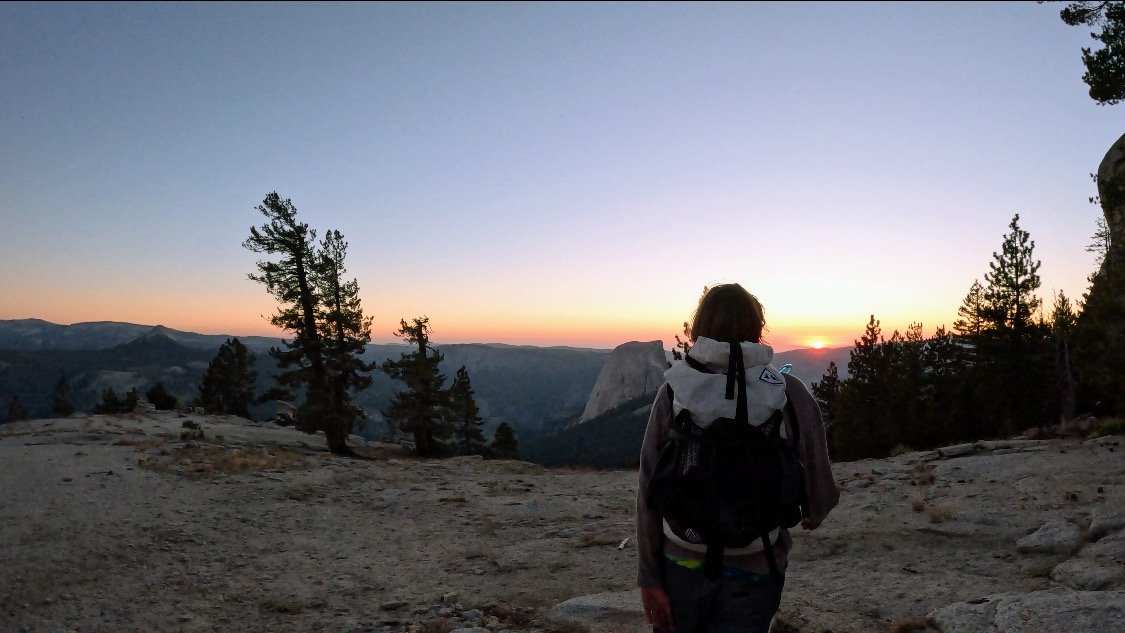
We took turns sleeping on the drive to the trailhead. As the sun rose up over the horizon we double checked our maps, made sure everything was charged, rationed out snacks and electrolytes, and readied ourselves for a long day. Weaving through backcountry roads in the Cascade Mountains of Washington, we tried to pinpoint which peak we would be climbing, but these massive giants covered much of what we could see from the valley roads.
Once we parked, not two hours away from Seattle in the early hours of the morning, we set out on the approach to Vesper Peak. With just over five miles and 5,000 feet of elevation gain until the start of the climb, we knew the approach would be well worth it.
We packed water filters and filled up first at a small stream about two miles in before the pass, then again at Lake Elan just before the start of the climb. This area is open to camping as it’s all on National Forest land and you just need to sign in on the registry at the trailhead. We passed a few climbers who had spent the night and pitched tents near Vesper.

Following the Vesper Peak summit trail, take a right up the boulder field just before the lake and follow a small trail around the back of the mountain. There are cairns to mark the way, but a GPS is highly necessary.
We did the climb itself in six pitches on the Ragged Edge route. Finding the start of the climb can be challenging, where you’re on the side of a cliff in fourth class terrain for a time before finding the first bolts. We shortroped the last part of the approach and linked together the first two pitches, but the last part still had a lot of exposure with little to no protection.

The climb starts with two slabby pitches that have bolted anchors. At the end of the third pitch you make a sharp left towards the side of the large roof to the arete feature on a grassy ledge. There are good gear placements here for a belay anchor.
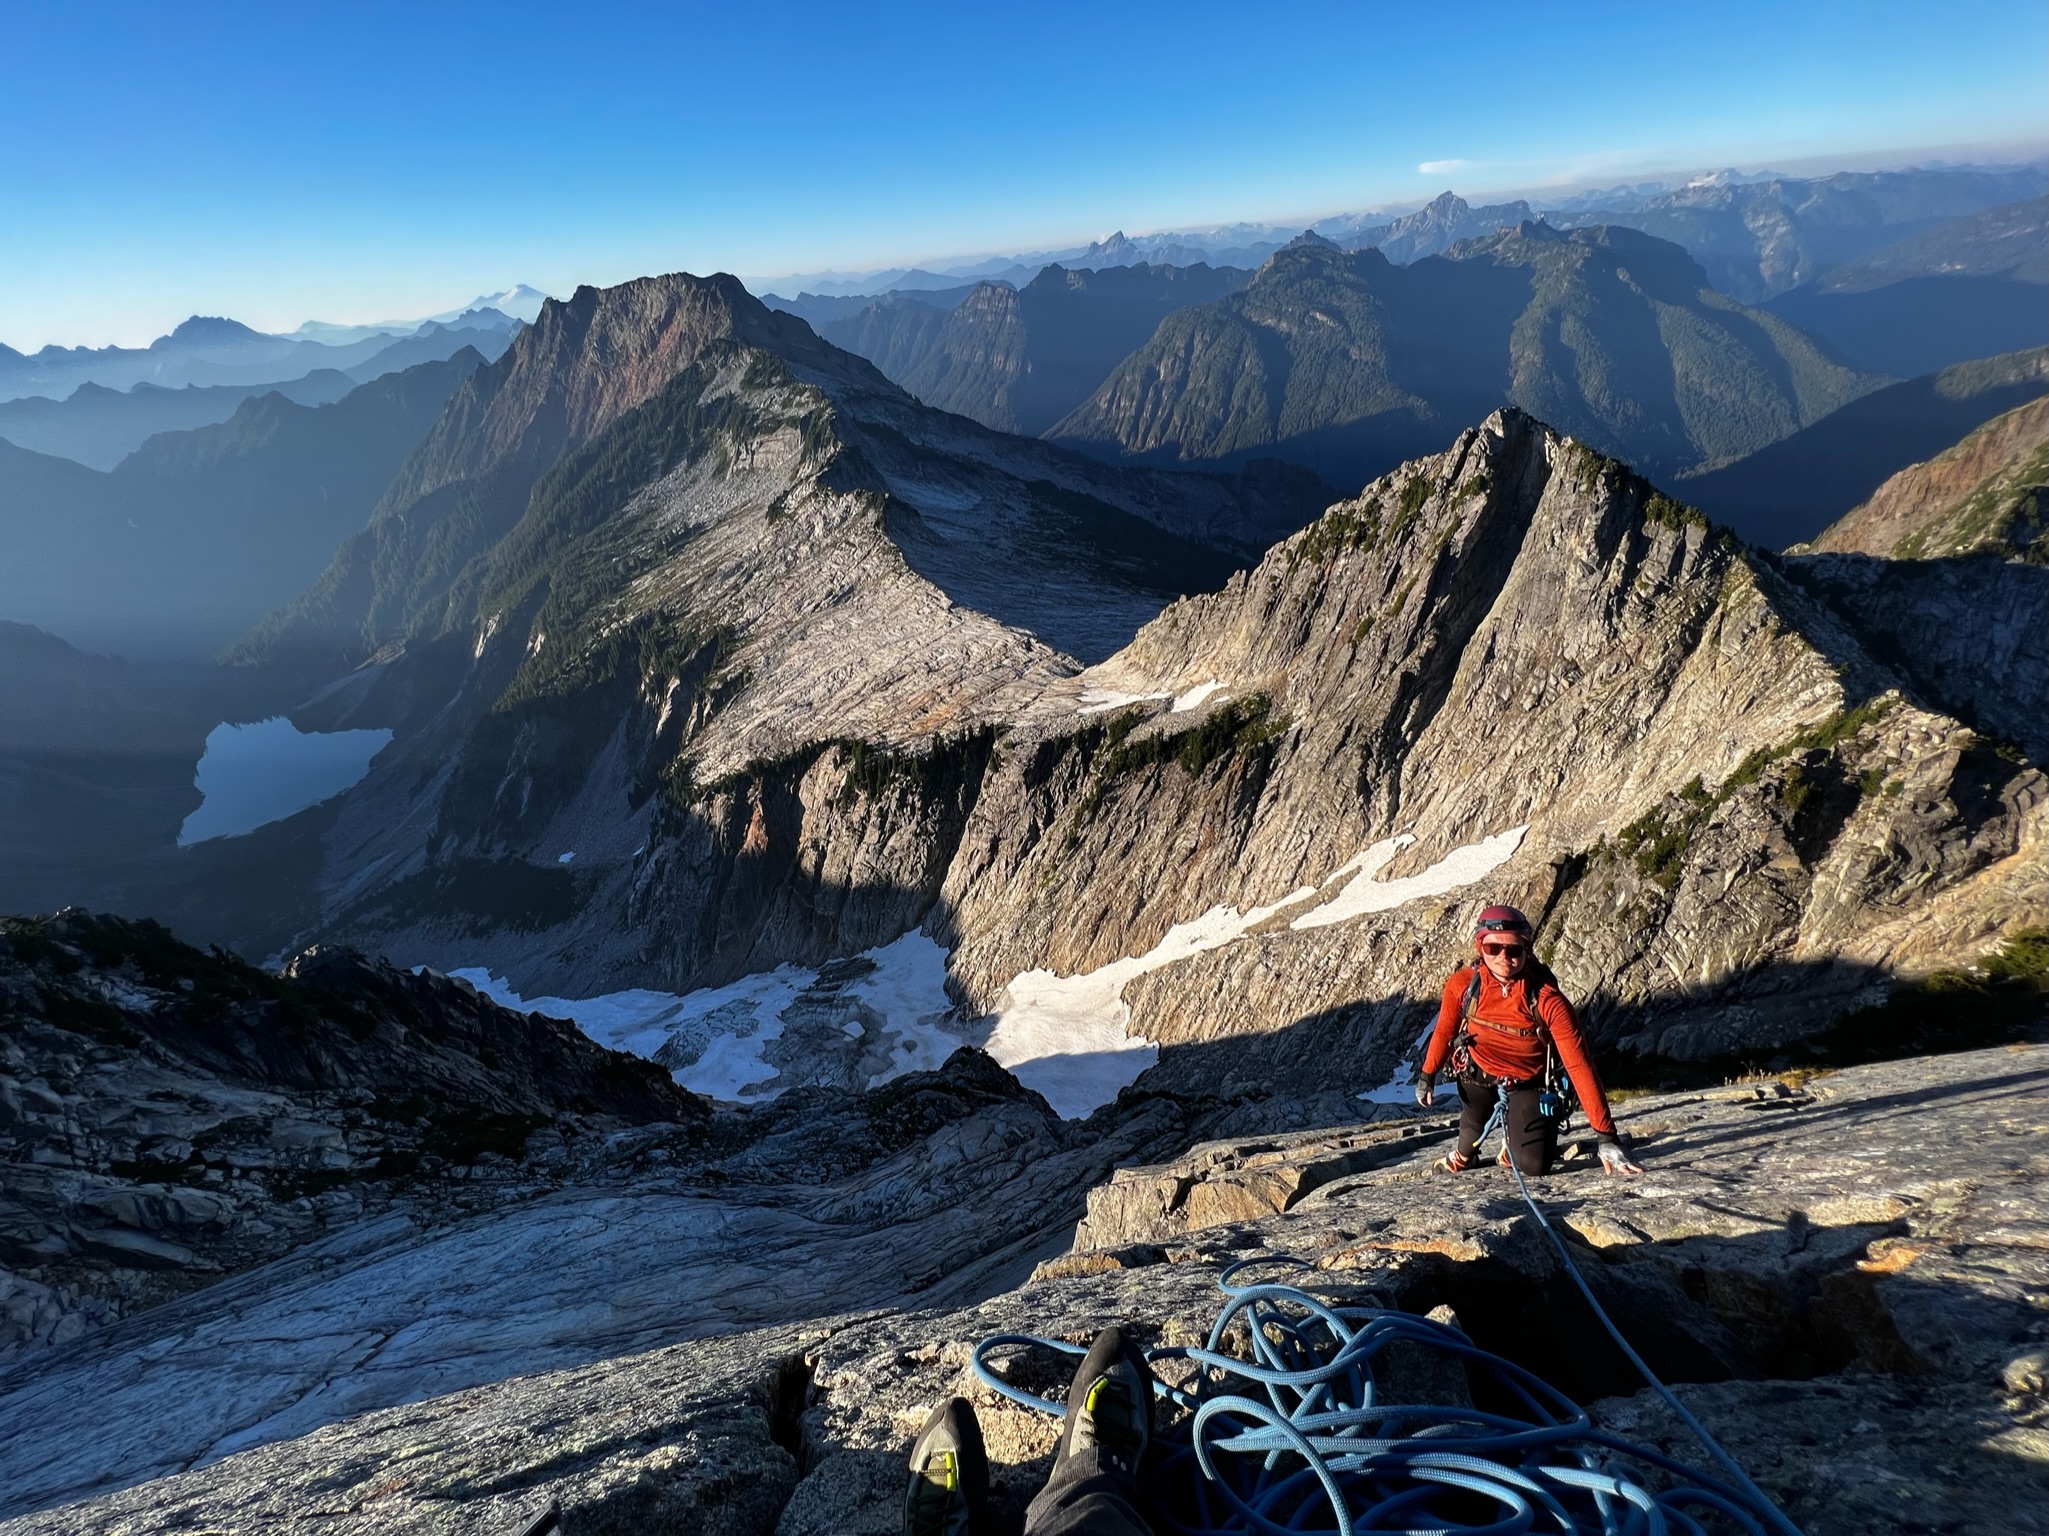
Pitches four to five have more crack features and includes the most exposed section of the climb. Just at the beginning of the fourth pitch you need to traverse over the arete to the left side of this feature, leaving you speechless as everything beneath you drops away until you get to the other side.
Packing Essentials for Vesper Peak:
- Headlamp – Make sure it’s fully charged.
- Nutrition – Plan for a full 24 hours on the mountain, and account for an additional 800 calories as a backup.
- Trad Gear – We used a double rack and had some excess gear. Especially helpful as some belay points don’t have bolted anchors.
- Rope – 60 or 70 meters is ideal. Some pitches can be long, especially if you plan on linking any.
- Layers – Think a puffer, sun shirt, hat, sun glasses, etc. There are also bugs on this route and it does get cold at night. Always pack more layers than you think you’ll need for the day.
- Approach Shoes – There are sections where you need to scramble and that are more technical. Having shoes that have good traction and rubber is highly desirable.
- Satellite Phone – There is no cell service in this area, and you’re in a remote part of backcountry. Plan ahead to make sure you have a form of communication and navigation before heading out.
- First Aid – A basic first aid kit with climbing specific supplies as well. Plan ahead and use your preferred gear.
- Water Purification System – A filter or purification tablets will work. We filled up three to four times and it does get hot, so this is essential.
The last two pitches can be linked together and follows the arete up to the summit. It’s more slabby and has great holds and is less steep than the rest of the climb. This is a great viewpoint to take in before the summit.
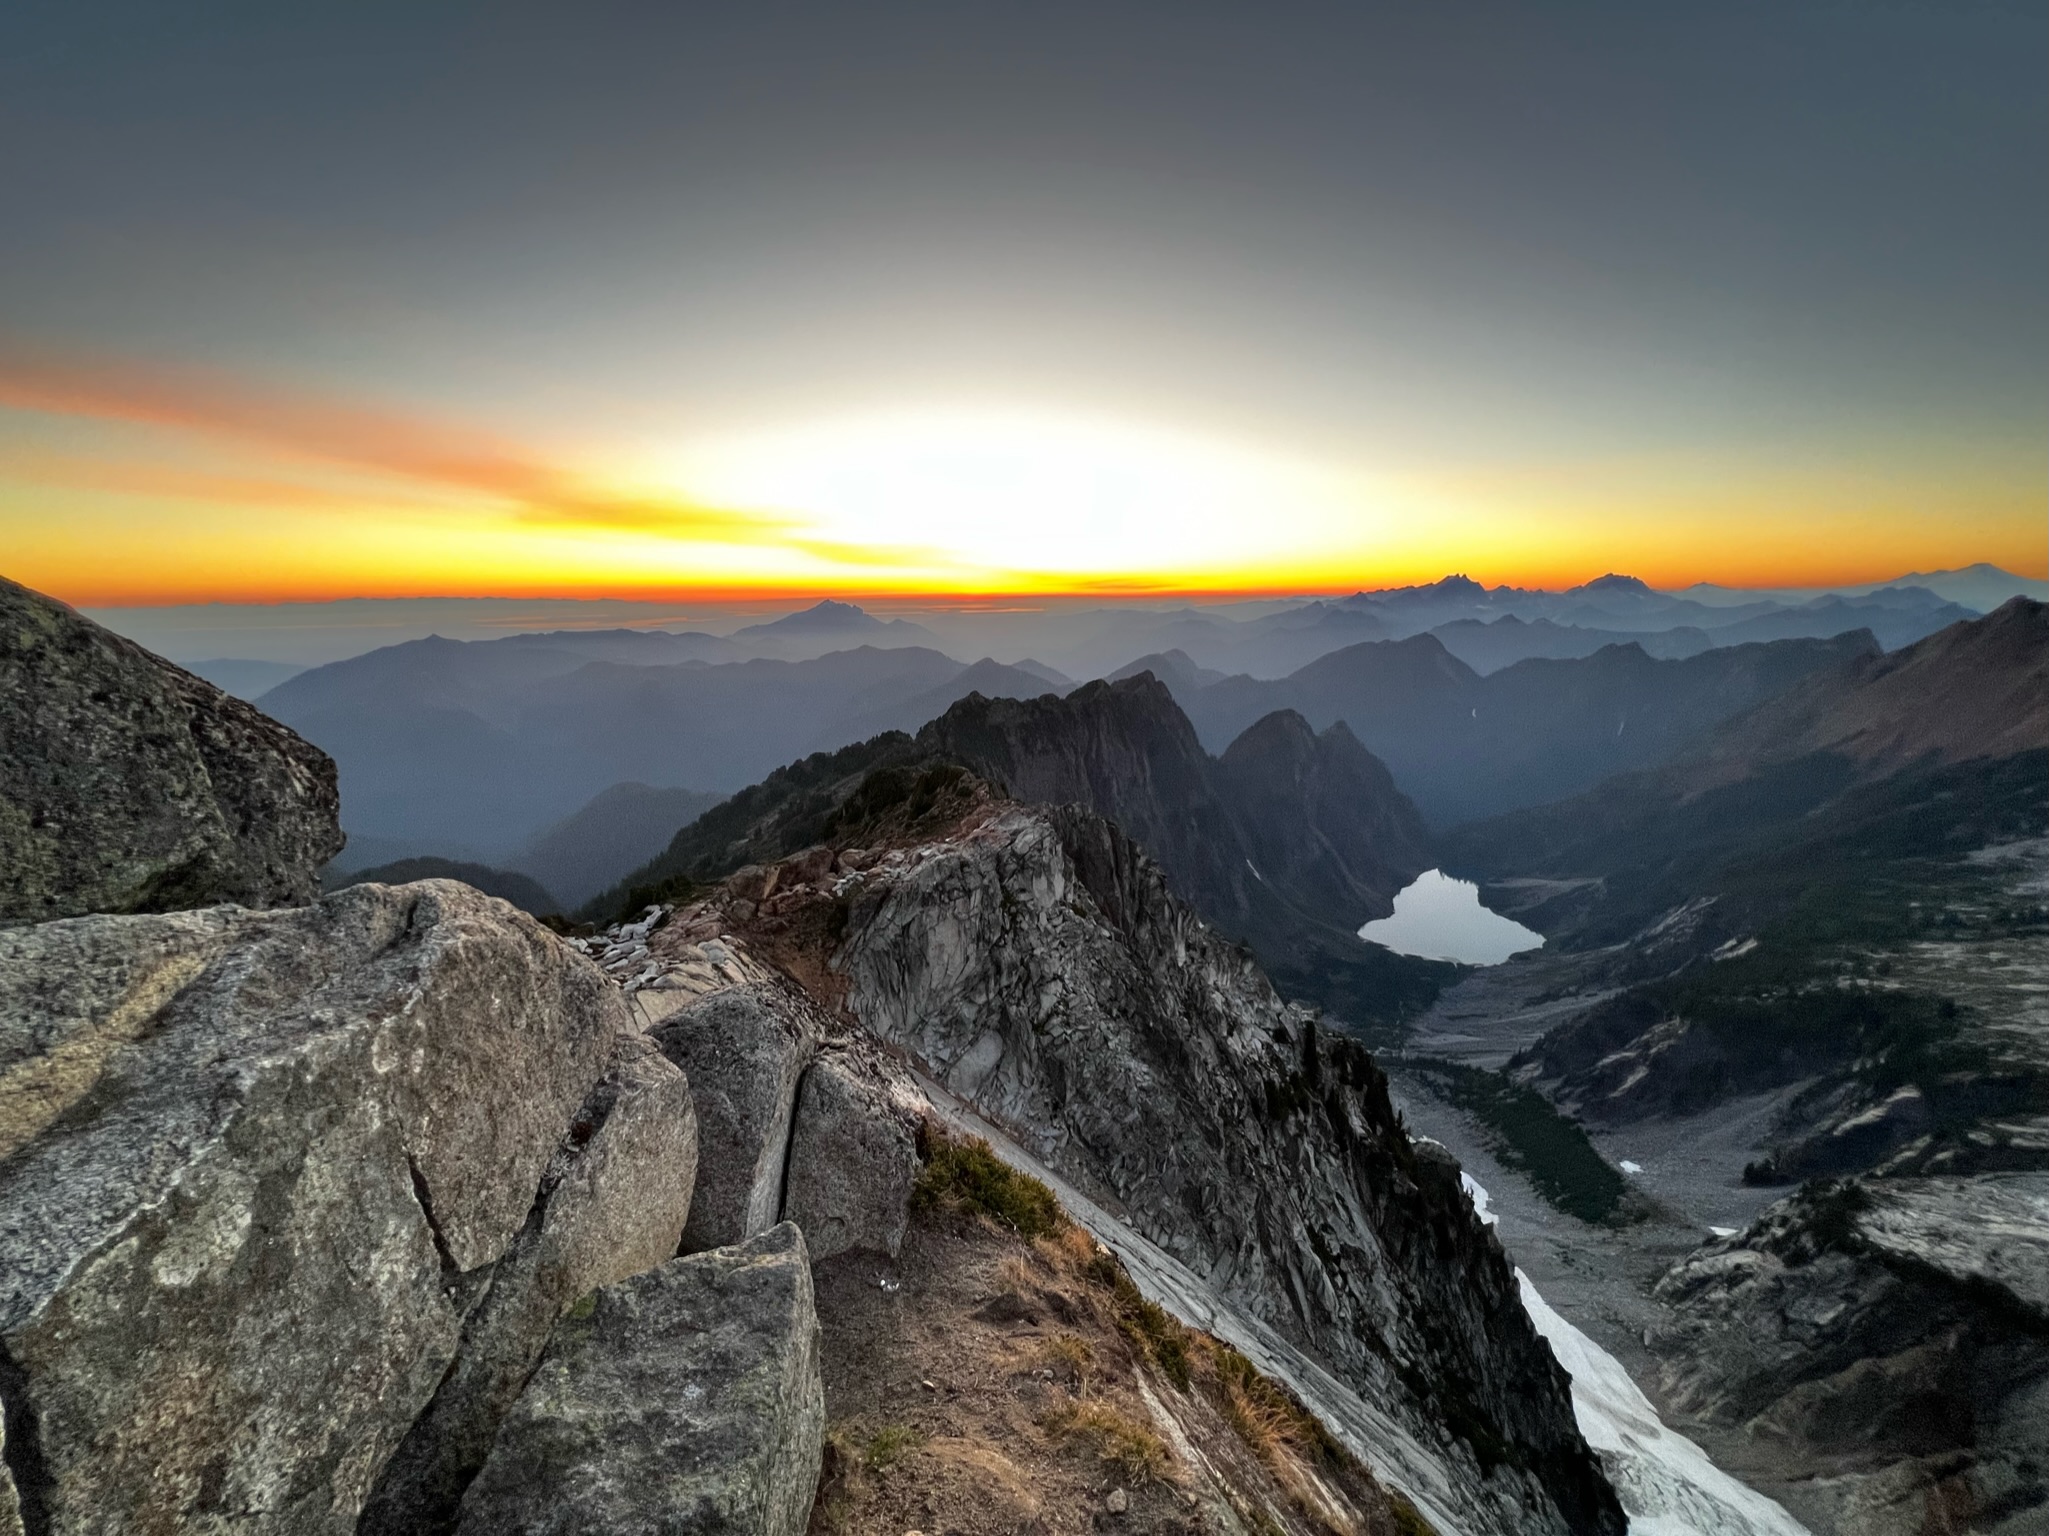
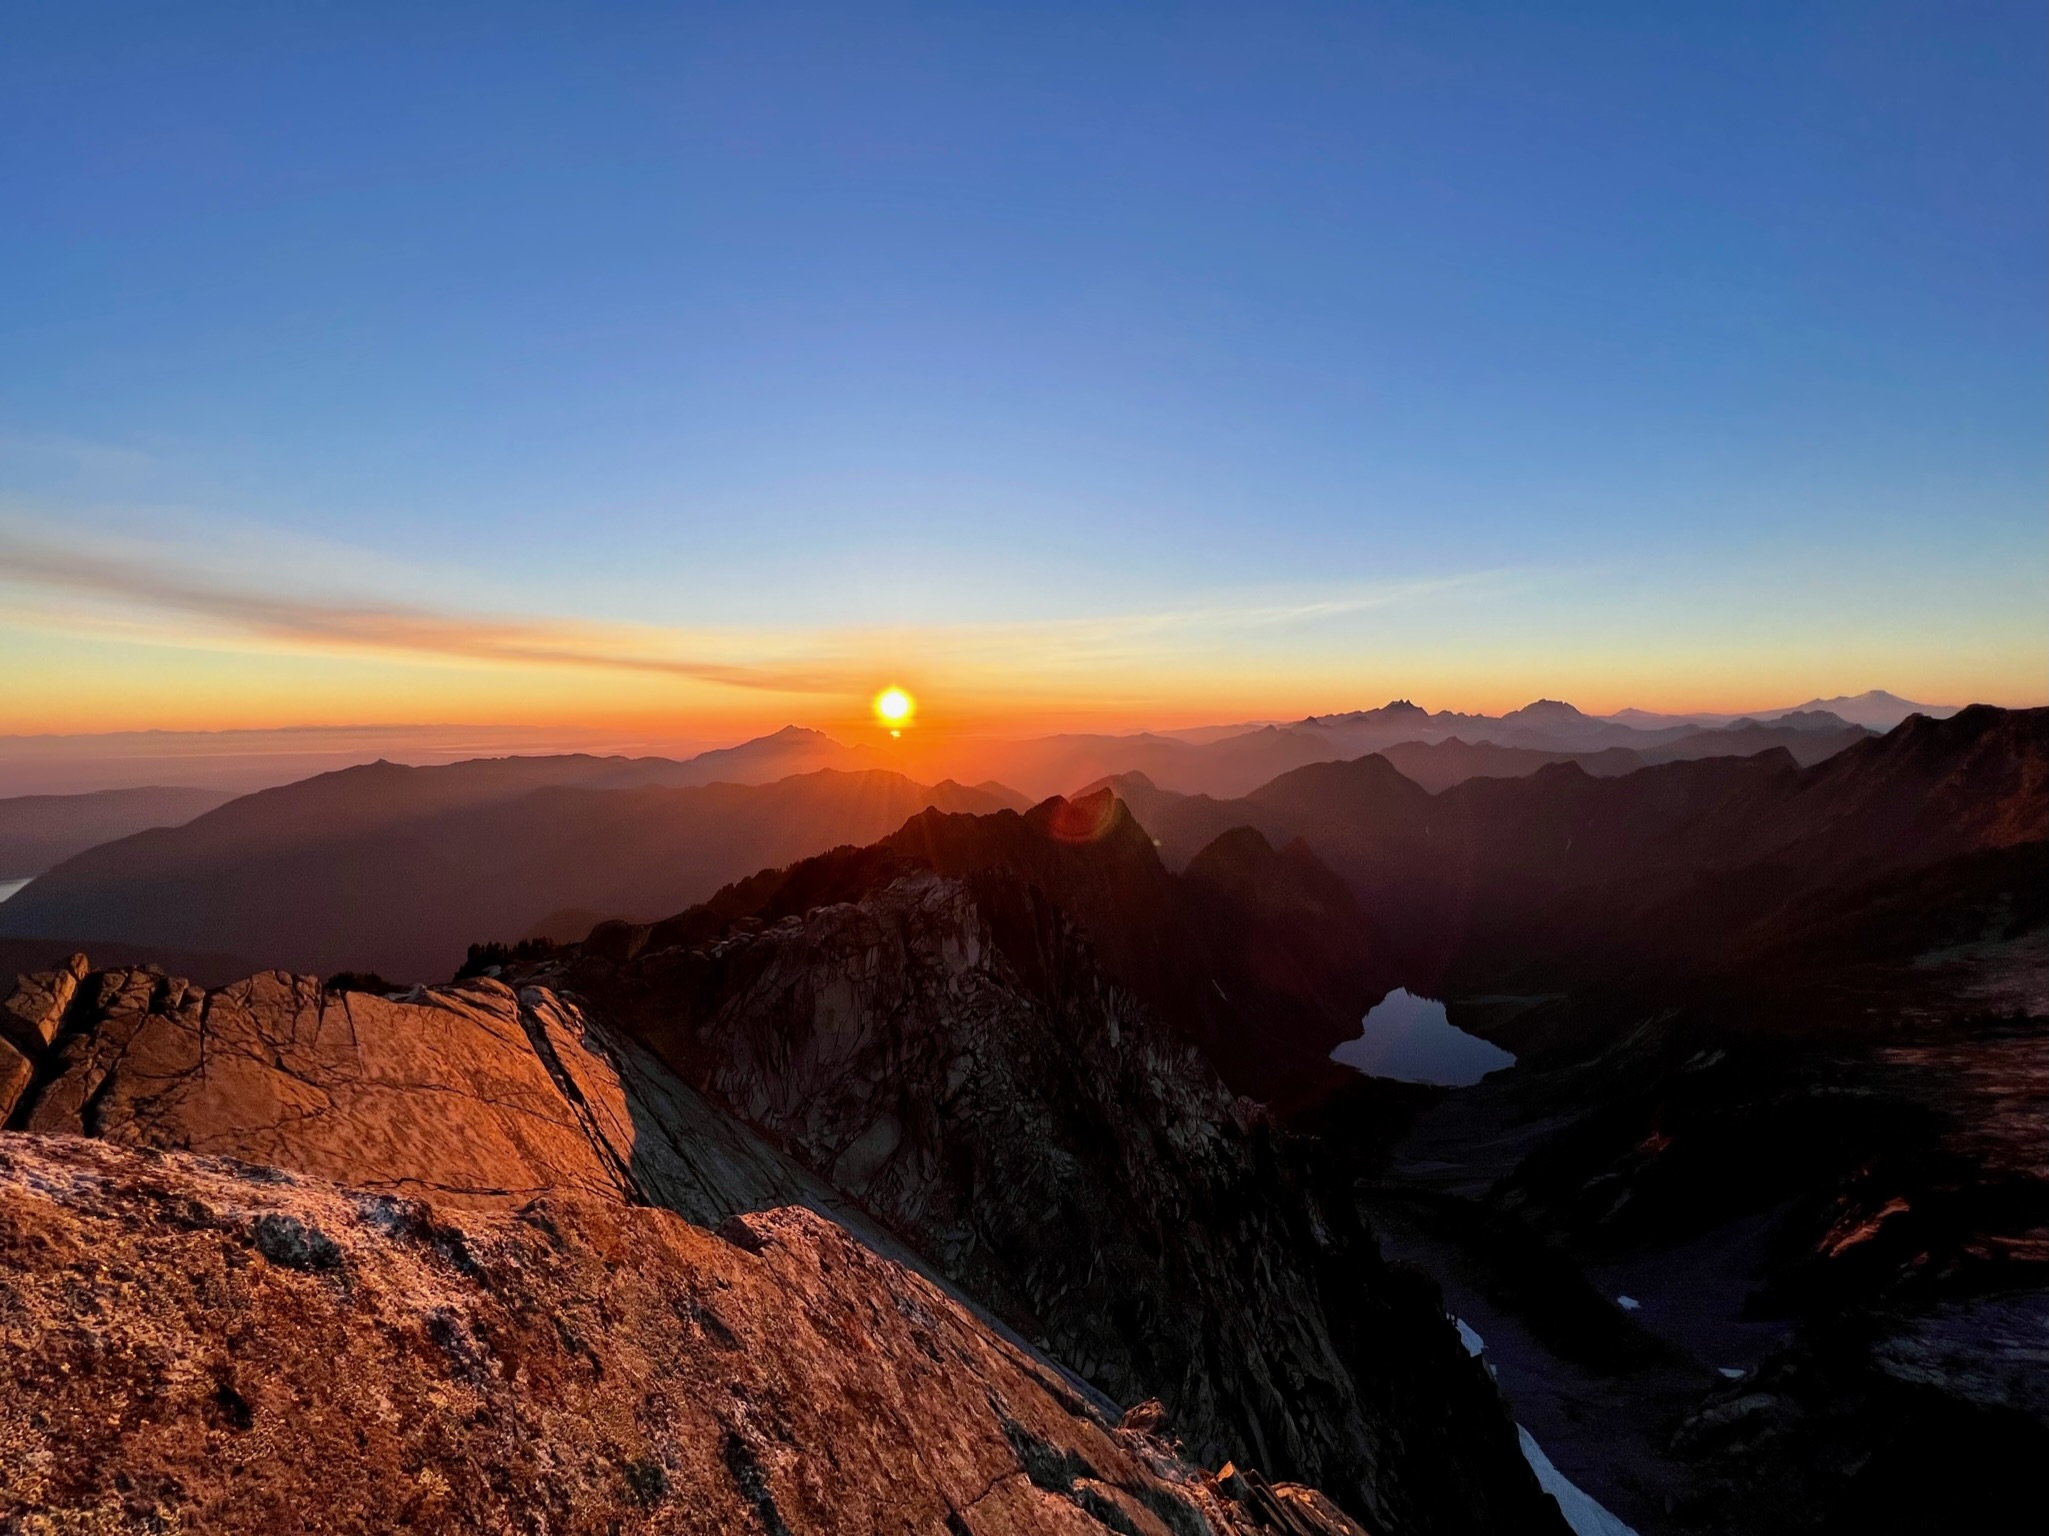
The climbing portion took us four and a half hours including all the route finding. It was both our first time on this route so we accounted for that in our planning. We topped out just as the sun set on the sixth pitch. The descent on this climb is much less challenging than the approach. Aside from climbing, Vesper Peak is also a popular hiking destination, and there’s a well maintained trail leading down to where the approach diverged from the main trail near Lake Elan.
We hiked through the night, running into one other pair of climbers who were making an early start after driving from Squamish. Given the lack of any light pollution in this stretch of the Cascades, we had a clear view of the sky and the many stars that lit up the night.
After about three and a half hours we made it back to the trailhead, around 2am. It was an additional two hour drive back to Seattle, where we arrived just after 4am. the next morning. This trip was spectacular and offered a great experience of alpine climbing in the Washington Cascades.